Growing Pompons
“The Winkie Way”
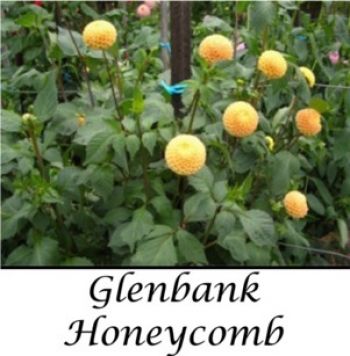
Pompons
Pompons are a type considered by some not to be a significant type of Dahlia. Generally preferences are for the larger blooms such as Cactus, Decorative, Waterlily and Fimbriated long before the Pompon.
Why?
The Pompon appears not as popular because it does not feature in major awards or included in major championships therefore they are not included in the next years shopping list let alone
on the “Must Grow List”.
My Interest
On one of my very first trips to a major Victorian Show I was told by one of the senior judges that you will never win a championship if you include pompons. I asked “Is this because they are considered inferior or is it that they are just not good enough to compete with the popular accepted types?”
Or is it they are not grown to their full potential?
Growing Better Pompons
Start with the proven cultivars, and if possible at least several of each.
Plants grown from Green Plants or Tubers are no different in performance.
Pompons are like all other types, some cultivars grow better in different areas.
Experiment with different cultivars to see what will grow in your patch.
Not all the ones with a good reputation like all areas or weather conditions.
For best results plant your Pompons before all other Types of Dahlias, because they take longer to reach their full potential.
Fertilizer & Watering
Their needs are similar to all dahlias. It is preferable to apply fertilizer two weeks before planting.
Watering requirements are the same as other Types. (Refer to the Growing page.)
Planting for Best Results
For best results double plant your Pompons together in “Prime Space” not just at the end of the patch.
Plant spacing is very important and in my opinion the best is to plant them in three rows 30 Cm apart and the plants approx. 20 Cm apart down the rows.
Why?
The aim is to create a hedge and at maturity it should give you a row that is approx. 1.2 Mt wide on the top. This is done with the end result in mind that we want our Pompons to produce masses of blooms with a long strong straight stems.
The reason that it is done this way is that all the blooms maturing towards the centre of the hedge are going for the light. You will find that 95% of them will be sitting on top with longer stems.
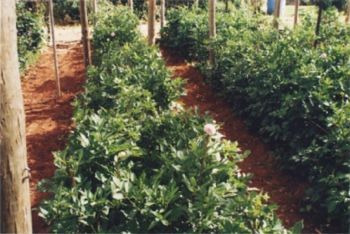
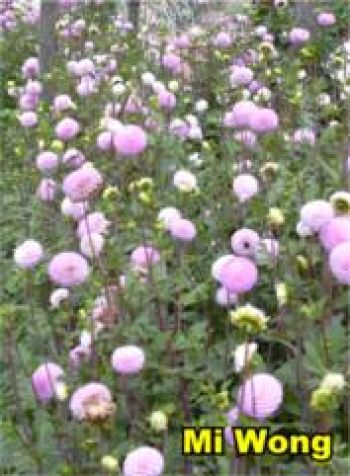
Three Rows wide 30 Cm apart
The Exhibitors find those blooms along the edge of the hedge will be sitting at the wrong angle for exhibition purposes. It does not matter much in the Home Garden.
Double Stopping is ideal. When the plant has reached approx.
4-6 sets of Leaves take out the growing tip.
When the next lot of 6/7 laterals reach approx. 500 mm– 600 mm take out the Growing Tips from all of the new Laterals creating that hedge effect.
This is usually as the first buds appear.
This will produce up to 24-30 stems per plant.
Each of these laterals will support blooms.
Planting for the Home Garden
For better results take out the growing tip when the plant has developed 4 -6 sets of leaves.
This will give you more flowers because you have encouraged more laterals.
If possible plant two/three tubers to each stake or in close groups for best results.
Disbudding is the time when the Exhibitor starts to run the gauntlet at the risk of the blooms growing over the required size of 50mm.
Generally I take out the side shoots on the top two sets of leaves when the bud is half to three quarter developed.
Involucral Bract Removal assists the development of the bloom encouraging the florets to go right back to the stem at the same time having the bloom sitting square on top as required by the Standards.
Involucral Bracts have wrongly been refered to as Calyx
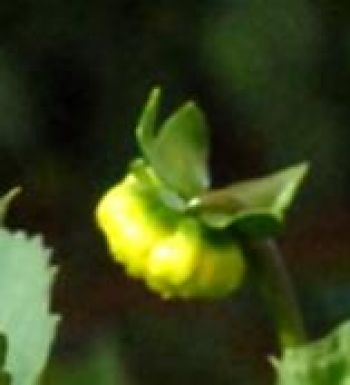
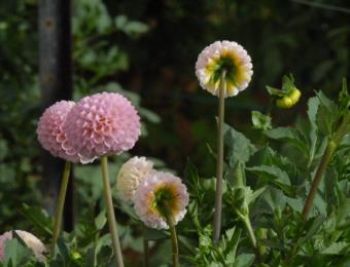
Involucral Bracts Involucral Bracts Removed
This is best done at the same time as the Disbudding
preferably late in the afternoon or early evening.
When done in early morning everything is too turgid resulting in
buds just popping off while I develop a lot of new words.
Picking Blooms
When picking blooms cut the bloom with at least three to four sets of leaves.
This encourages more sturdy growth as well as encouraging more blooms for later in the season.
Time of picking is another important factor that affects the resilience and keeping quality of the bloom.
I have found the “IDEAL” time is very early morning before the day starts to heat up.
It is preferable to leave two sets of leaves, adding to the presentation of your bloom.
It is best if you take the water to the plant and when you cut your blooms put them straight into the water.
This increases the shelf life.
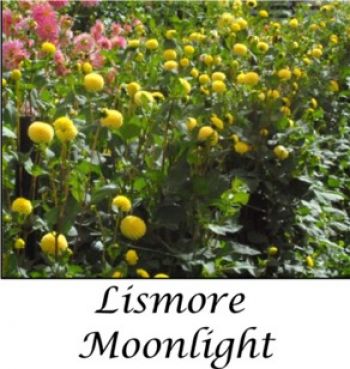
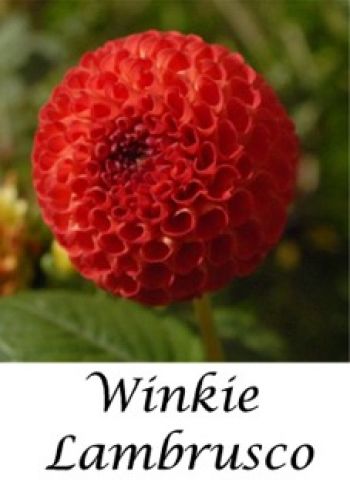
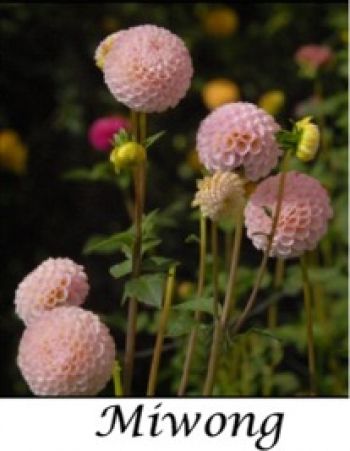
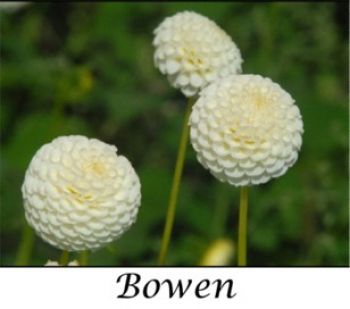
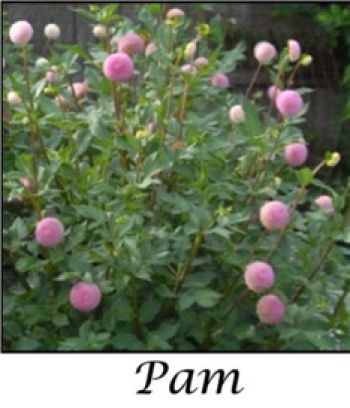
Some of the Better Performers at Winkie

Enquiries and comments to
John Menzel-
08- 85837369
0408 837369